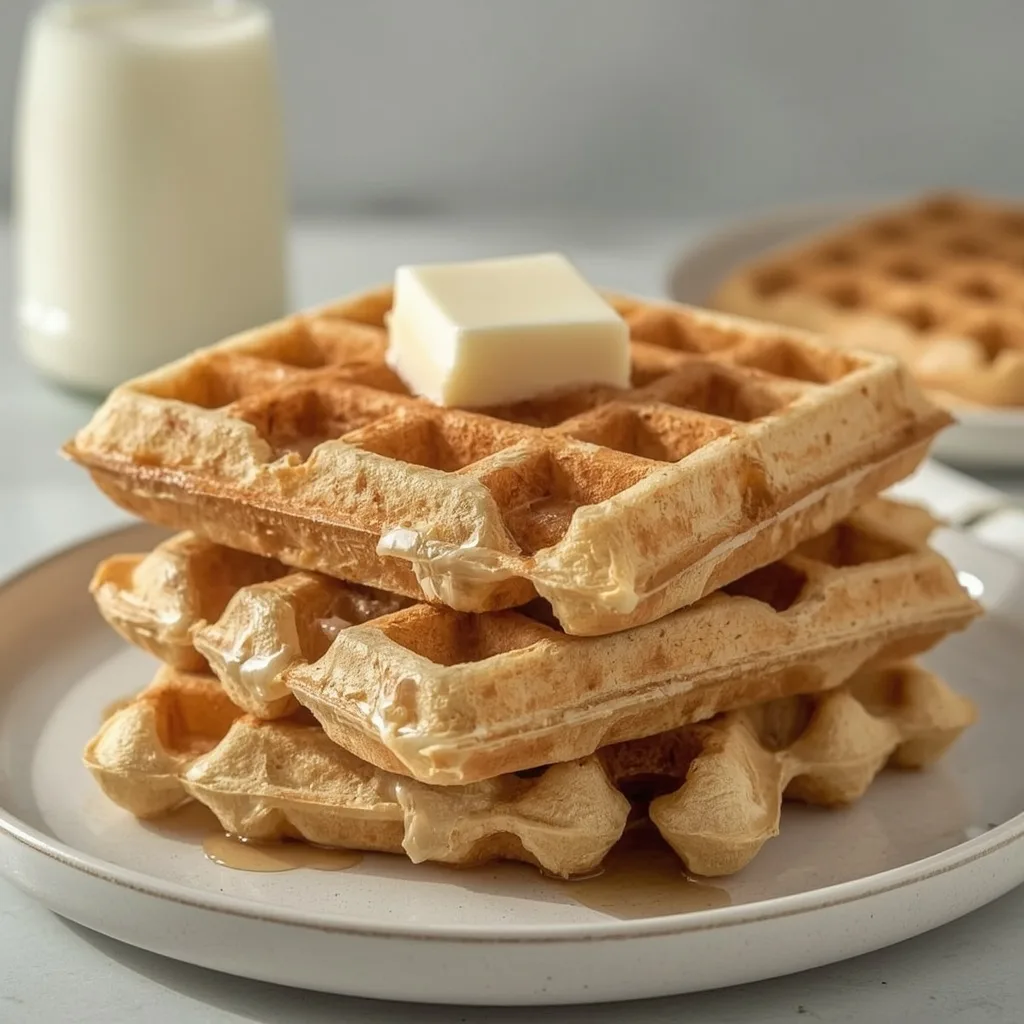
These high protein powder waffles are crisp on the outside, fluffy on the inside, and pack a serious protein punch to keep you full all morning. Made with a blend of vanilla protein powder, Greek yogurt, and eggs, they deliver a satisfying, slightly sweet breakfast without the blood sugar crash.
This recipe is for anyone who wants a quick, filling breakfast that actually tastes good. It requires just 10 minutes of prep and 12 minutes of cooking, making it perfect for busy weekday mornings. The difficulty is beginner-friendly, so even if you have never made waffles from scratch, you can nail this on the first try.
What are High Protein Powder Waffles?
This dish is a protein-packed twist on classic American waffles, using a blender to combine rolled oats, protein powder, Greek yogurt, and eggs into a thick batter. The texture is noticeably different from standard waffles — it is crisp and golden on the outside but tender and slightly fluffy on the inside, not dense or dry.
The flavor is mildly sweet from the honey and cinnamon, with the protein powder adding a subtle vanilla note if you use a flavored variety. It is an ideal make-ahead breakfast for meal prep or a post-workout refuel that keeps you going until lunch.
Why You’ll Love This Recipe
Here is what makes this waffle recipe worth waking up for.
- Serious protein content — Each serving delivers 26g of protein, which is more than most protein bars. The combination of Greek yogurt, eggs, and protein powder does the heavy lifting here.
- No weird ingredients — You do not need almond flour, coconut flour, or expensive specialty items. Rolled oats, yogurt, eggs, and milk are all pantry staples.
- Crispy texture without frying — The oat flour and yogurt create a batter that crisps up beautifully in a standard waffle iron. You get that satisfying crunch without deep frying or extra oil.
- Quick enough for a weekday — From pulling out the blender to eating, this takes about 22 minutes. The batter itself comes together in 10 minutes flat.
- Freezes like a dream — Make a double batch on Sunday and pop them in the freezer. Toasting them straight from frozen gives you a fresh waffle in under 3 minutes.
- Customizable flavor — The base is neutral enough to take on mix-ins like chocolate chips, blueberries, or a pinch of nutmeg. You can also swap the vanilla protein powder for unflavored to control the sweetness.
Ingredients Needed to Make High Protein Powder Waffles
You only need 10 ingredients for this recipe, and most are probably in your kitchen right now.
Dry Ingredients
- 1 1/2 cups rolled oats (not instant) — These grind into a coarse flour that gives the waffles structure and a subtle nutty flavor. Instant oats turn gummy, so stick with rolled.
- 1 scoop vanilla or unflavored protein powder (about 30g protein per scoop) — This is the protein backbone. Whey or plant-based both work, but whey blends smoother. If your powder is very sweet, you can skip the honey.
- 1 tsp baking powder — This is what gives the waffles lift. Without it, they will be flat and dense like a pancake.
- 1/2 tsp kosher salt — Salt balances the sweetness and enhances the oat flavor. Table salt works too, but use 1/4 tsp instead.
- 1/2 tsp ground cinnamon (optional) — Adds warmth without overpowering. You can leave it out or swap with pumpkin spice.
Wet Ingredients
- 1 cup full-fat Greek yogurt — This adds creaminess and a tangy depth that complements the oats. Full-fat gives the best texture, but 2% Greek yogurt works in a pinch.
- 2 large eggs — Eggs bind everything together and add protein. They also help the waffle brown properly.
- 1/2 cup whole milk — Whole milk adds richness. You can use 2% or oat milk, but avoid skim or almond milk — they make the batter too thin.
- 1 tbsp honey — A small amount of natural sweetness that also helps the waffle brown. Maple syrup works as a substitute.
- Nonstick cooking spray — This prevents sticking without adding a lot of fat. Do not skip it, even on a nonstick waffle iron.
Equipment Needed
You probably have most of these already.
- Blender or food processor — A standard countertop blender works best for grinding the oats and mixing the batter smoothly. A food processor works too, but you may need to scrape the sides more often.
- Belgian-style waffle iron — A Belgian iron makes thicker, fluffier waffles with deep pockets that hold syrup and berries beautifully. A standard round waffle iron works, but the texture will be thinner.
- Wire cooling rack — Placing hot waffles on a rack prevents steam from making them soggy. A baking sheet lined with paper towels works in a pinch, but the rack is better.
- Small bowl and whisk — You whisk the wet ingredients separately before combining them with the dry. A fork works if you do not have a whisk, but whisking is faster.
- Measuring cups and spoons — Accuracy matters here more than you think. Scooping oats with a measuring cup ensures the right grind consistency.
Instructions to Make High Protein Powder Waffles
The process is straightforward, but a few details make the difference between average waffles and great ones.
Step 1: Preheat and Grind the Oats
Preheat your waffle iron according to the manufacturer’s instructions. While it heats, add the rolled oats to your blender and pulse 8-10 times until they become a coarse flour. Do not over-process into a fine powder — a few small oat pieces add a pleasant texture to the finished waffle.
Step 2: Combine Dry Ingredients
Add the protein powder, baking powder, salt, and cinnamon (if using) to the blender with the oat flour. Pulse 2-3 more times to distribute everything evenly. This step prevents clumps of baking powder from creating bitter pockets in the waffle.
Step 3: Mix the Wet Ingredients
In a small bowl, whisk together the Greek yogurt, eggs, whole milk, and honey until smooth. If your yogurt is straight from the fridge, let it sit on the counter for 5 minutes first — cold yogurt resists blending and leaves lumps.
Step 4: Combine Wet and Dry
Pour the wet mixture into the blender with the dry ingredients. Blend on low speed for 10-15 seconds, scraping down the sides once. The batter should be thick and smooth but still pourable. A few lumps are perfectly fine — overmixing makes the waffles tough.
Step 5: Let the Batter Rest
Let the batter sit in the blender for 2-3 minutes. This short rest allows the oat flour to fully hydrate and the baking powder to activate, which gives you a lighter, more tender waffle. The batter will thicken noticeably as it sits.
Step 6: Cook the Waffles
Lightly spray the preheated waffle iron with cooking spray. Pour about 1/3 cup of batter onto the center of the iron — adjust the amount based on your iron’s size so the batter spreads to within 1/2 inch of the edges. Close the lid and cook for 4-6 minutes until the waffle is golden brown and releases easily. Do not open the lid during the first 3 minutes, or the waffle may tear.
Step 7: Keep Warm and Repeat
Transfer the cooked waffle to a wire rack immediately. Do not stack them or place them on a plate — trapped steam will soften the crisp exterior. If making multiple batches, keep the waffles warm in a 200°F / 93°C oven on a baking sheet. Repeat with the remaining batter, respraying the iron lightly between each batch.
What Went Wrong and How I Fixed It
Here is what tripped me up the first few times I made these waffles.
- The batter was too thick to pour — If your batter resembles cookie dough, your yogurt may be extra thick or your protein powder very absorbent. Stir in an extra tablespoon of milk until it reaches a thick but pourable consistency.
- The waffles stuck to the iron — This usually means the iron was not hot enough or you did not spray it sufficiently. Preheat fully and give the iron a generous coat of spray before the first waffle.
- Waffles came out pale and soft — You probably opened the lid too early. The steam needs to cook off before the waffle browns. Wait until the steam visibly reduces before checking.
- The center was gummy — Overcrowding the iron with too much batter causes this. Use less batter next time — the batter should spread to within 1/2 inch of the edges, not fill the whole iron.
- The protein powder clumped in the batter — This happens when you dump the powder in without whisking it with the dry ingredients first. Always pulse the dry ingredients together before adding wet ingredients.
- Waffles were dry and crumbly — Too much protein powder relative to the wet ingredients causes this. Stick to one scoop and make sure your yogurt is full-fat for moisture.
What Do I Serve With High Protein Powder Waffles?
These waffles are great on their own, but the right toppings and sides turn them into a proper meal.
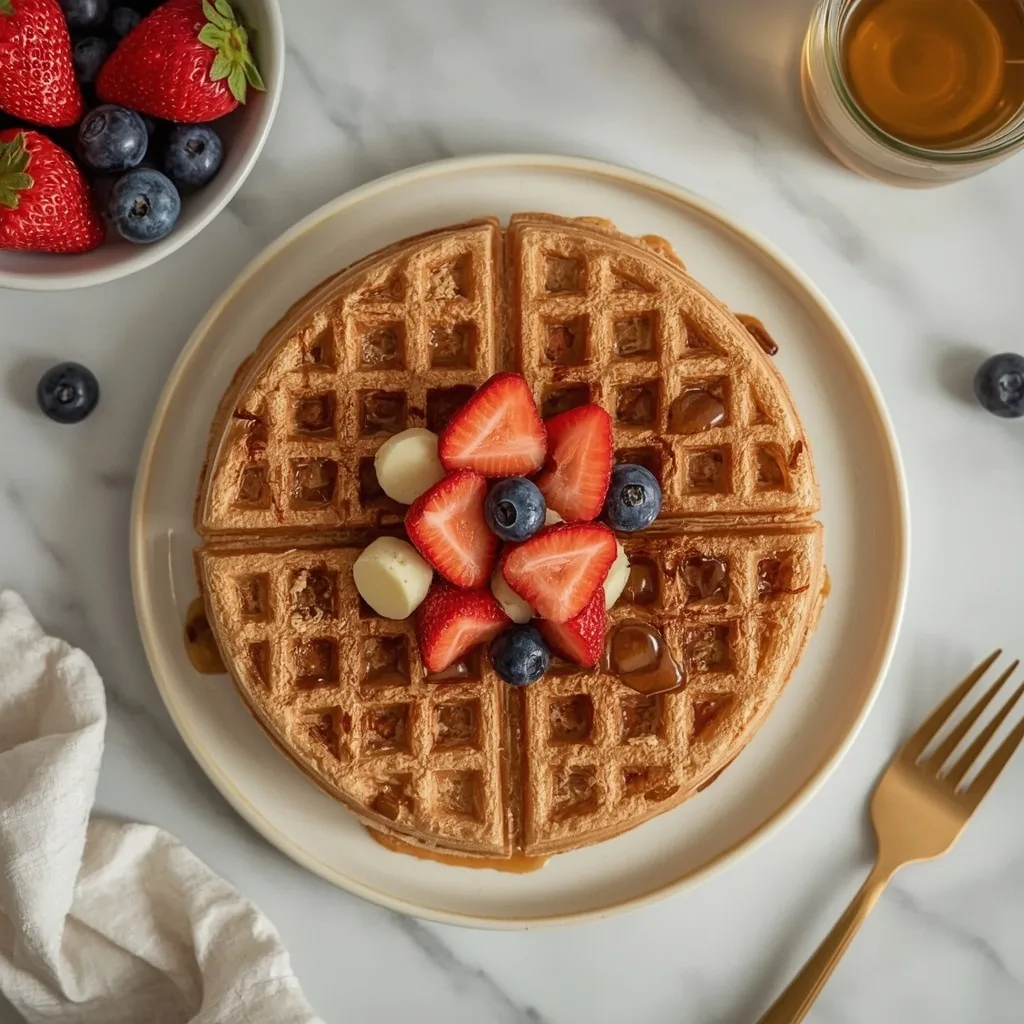
- Fresh berries and Greek yogurt — A handful of blueberries or sliced strawberries adds freshness and a pop of color. A dollop of Greek yogurt on top adds an extra 5-6g of protein per serving.
- A drizzle of honey or maple syrup — The waffles are only mildly sweet, so a light drizzle of honey or pure maple syrup complements them without overwhelming the flavor.
- Scrambled eggs — For an even bigger protein boost, serve the waffles alongside two scrambled eggs. This turns breakfast into a 40g+ protein meal that keeps you full for hours.
- Nut butter and sliced banana — A smear of almond butter or peanut butter adds healthy fats and more protein. Sliced banana provides natural sweetness and potassium.
- Turkey sausage or bacon — Crispy turkey sausage patties or bacon add a savory, salty contrast to the slightly sweet waffles. The combination is breakfast perfection.
Pro Tips to Make Perfect High Protein Powder Waffles
These small adjustments make a big difference in the final texture and flavor.
- Grind your oats fresh — Pre-ground oat flour can go stale and taste flat. Grinding rolled oats right before mixing gives a fresher, nuttier flavor that standard flour cannot match.
- Rest the batter for exactly 2-3 minutes — This short rest allows the oat flour to hydrate fully, which prevents a gritty texture. Skip the rest, and your waffles will have an unpleasant sandy mouthfeel.
- Use room temperature yogurt — Cold yogurt makes the batter thick and clumpy. Let it sit on the counter for 5 minutes before mixing, or microwave it for 10 seconds to take the chill off.
- Do not overfill the waffle iron — Too much batter squishes out the sides and makes a mess. A 1/3 cup measure is about right for most standard Belgian irons. Adjust based on your iron, not your instincts.
- Keep cooked waffles on a wire rack — Placing them directly on a plate traps steam and ruins the crisp exterior. A wire rack lets air circulate, keeping the waffles crunchy even after they cool slightly.
- Freeze in a single layer first — If freezing leftovers, lay the waffles on a baking sheet and freeze for 1 hour before transferring to a bag. This prevents them from sticking together into a giant waffle iceberg.
- Toast, do not microwave — Microwaving leftover waffles turns them into rubbery, sad discs. Always reheat in a toaster or toaster oven to restore the crisp exterior.
Variations of High Protein Powder Waffles
Once you master the base recipe, these variations keep things interesting.
- Chocolate Protein Waffles — Swap the vanilla protein powder for chocolate protein powder and add 1 tbsp unsweetened cocoa powder. Reduce the cinnamon to 1/4 tsp or skip it entirely.
- Blueberry Lemon Waffles — Fold 1/2 cup fresh or frozen blueberries into the batter after blending. Add 1 tsp lemon zest to the wet ingredients for a bright, citrusy twist.
- Peanut Butter Waffles — Add 2 tbsp peanut butter to the wet ingredients and blend until smooth. Use chocolate protein powder for a peanut butter cup flavor, or stick with vanilla for a milder taste.
- Vegan Protein Waffles — Replace the eggs with two flax eggs (2 tbsp ground flaxseed + 6 tbsp warm water, rested for 5 minutes). Use a plant-based protein powder and substitute the Greek yogurt with a thick plant-based yogurt like coconut or soy.
- Extra Protein Boost — Add one extra scoop of protein powder (about 30g more) and increase the milk to 2/3 cup to compensate for the extra dry ingredient. This brings the protein per serving to roughly 35g.
- Pumpkin Spice Waffles — Replace the honey with maple syrup and add 2 tbsp pumpkin puree plus 1/2 tsp pumpkin pie spice. The puree adds moisture and a seasonal twist perfect for fall mornings.
How Do I Store High Protein Powder Waffles Leftovers?
These waffles store beautifully if you follow a few simple rules.
- Refrigerate in an airtight container — Layer the waffles with parchment paper between each one to prevent sticking. They stay fresh in the fridge for up to 3 days.
- Freeze for up to 2 months — Place cooled waffles in a single layer on a baking sheet and freeze for 1 hour. Then transfer them to a zip-top freezer bag, squeezing out as much air as possible before sealing.
- Label the bag with the date — Frozen waffles can be hard to tell apart from other frozen foods. Write the date and contents on the bag so you do not end up with mystery waffles months later.
- Cool completely before storing — Any residual warmth creates condensation inside the container, which will make the waffles soggy. Let them sit on a wire rack for at least 15 minutes before packing.
How Do I Reheat High Protein Powder Waffles Leftovers?
Proper reheating restores the crisp texture you worked so hard to create.
- Toaster method (best) — Pop frozen or refrigerated waffles directly into a toaster on a medium-high setting. Toast for 2-3 minutes until heated through and crisp on the outside. This works perfectly from frozen with no defrosting needed.
- Toaster oven method — Preheat your toaster oven to 350°F / 177°C. Place the waffles on the rack and heat for 5-7 minutes, flipping halfway through. The dry heat restores crispness better than a microwave ever could.
- Oven method — If reheating multiple waffles at once, place them on a wire rack set over a baking sheet. Bake at 350°F / 177°C for 8-10 minutes, or until hot and crisp. The wire rack prevents the bottom from steaming.
- Avoid microwaving — The microwave turns these waffles into rubbery, chewy discs. If you are truly in a rush, microwave for 20 seconds and then finish in a toaster for 1 minute. This is better than straight microwaving.
FAQs
Can I freeze High Protein Powder Waffles?
Yes, absolutely. Let the waffles cool completely, then freeze them in a single layer on a baking sheet for 1 hour. Transfer them to a zip-top bag and freeze for up to 2 months. Reheat directly from frozen in a toaster.
How long does High Protein Powder Waffles last in the fridge?
Stored in an airtight container with parchment paper between layers, they stay fresh for up to 3 days. After that, the texture starts to decline and they may become stale.
Why are my protein waffles dry?
The most common culprit is too much protein powder relative to the wet ingredients. Stick to one scoop (about 30g) and use full-fat Greek yogurt for moisture. If they still come out dry, add an extra tablespoon of milk next time.
Can I use instant oats instead of rolled oats?
Instant oats are ground more finely than rolled oats, so they absorb liquid differently and can make the batter gummy. Rolled oats give a better texture and more structure. If instant oats are all you have, reduce the milk by 2 tablespoons.
What protein powder works best for this recipe?
Whey protein powder blends most smoothly and gives the best texture. Plant-based protein powders work too, but they tend to absorb more liquid, so you may need to add an extra tablespoon of milk. Avoid collagen protein — it does not provide enough structure for waffles.
Can I make the batter ahead of time?
You can, but the texture changes. The oat flour continues to absorb liquid over time, making the batter thicker and the waffles denser. For best results, make the batter fresh. If you must prep ahead, store the dry and wet ingredients separately and combine them in the morning.
Final Words
These High Protein Powder Waffles are proof that a protein-forward breakfast does not have to taste like cardboard. With 26g of protein per serving and a crisp, tender texture that rivals any diner waffle, they are a reliable option for busy mornings and lazy weekends alike. Give them a try — your morning routine will thank you.
PrintHigh Protein Powder Waffles

These high protein powder waffles are crisp on the outside, fluffy on the inside, and pack a serious protein punch to keep you full all morning. Made with a blend of vanilla protein powder, Greek yogurt, and eggs, they deliver a satisfying, slightly sweet breakfast without the blood sugar crash.
- Prep Time: 10
- Cook Time: 12
- Total Time: 22
- Yield: 4 1x
- Category: Breakfast
- Method: Stovetop
- Cuisine: American
Ingredients
- 1 1/2 cups rolled oats (not instant)
- 1 scoop vanilla or unflavored protein powder (about 30g protein per scoop)
- 1 cup full-fat Greek yogurt
- 2 large eggs
- 1/2 cup whole milk
- 1 tbsp honey
- 1 tsp baking powder
- 1/2 tsp kosher salt
- 1/2 tsp ground cinnamon (optional)
- Nonstick cooking spray, for the waffle iron
Instructions
- Preheat your waffle iron according to the manufacturer’s instructions. While it heats, prepare the batter. For best results, use a Belgian-style waffle iron for thicker, fluffier waffles.
- Add the rolled oats to a blender or food processor. Pulse 8-10 times until the oats are ground into a coarse flour-like consistency. Do not over-process into a fine powder – a few small oat pieces add nice texture.
- Add the protein powder, baking powder, salt, and cinnamon (if using) to the blender with the oat flour. Pulse 2-3 times to combine the dry ingredients evenly. This ensures the leavener is distributed without clumps.
- In a small bowl, whisk together the Greek yogurt, eggs, whole milk, and honey until smooth. The yogurt should be at room temperature to blend easily – if cold from the fridge, let it sit out for 5 minutes.
- Pour the wet ingredients into the blender with the dry ingredients. Blend on low speed for 10-15 seconds, scraping down the sides once, until the batter is thick and smooth but still pourable. Do not overmix – a few lumps are fine.
- Let the batter rest for 2-3 minutes. This allows the oat flour to hydrate and the baking powder to activate, resulting in a lighter, more tender waffle. The batter will thicken slightly as it rests.
- Lightly coat the preheated waffle iron with nonstick cooking spray. Pour about 1/3 cup of batter onto the center of the iron – the amount depends on your iron’s size; adjust so the batter spreads to within 1/2 inch of the edges.
- Close the waffle iron and cook for 4-6 minutes, or until the waffle is golden brown and releases easily from the iron. Do not open the lid during the first 3 minutes – this can cause the waffle to tear. The waffle is done when steam visibly reduces.
- Using a fork or tongs, carefully transfer the cooked waffle to a wire rack. Do not stack waffles or place them on a plate, as trapped steam will make them soggy. Keep warm in a 200°F / 93°C oven on a baking sheet if making multiple batches.
- Repeat with the remaining batter, respraying the iron lightly between each waffle. The batter yields 4 waffles (about 1/3 cup each), perfect for 4 servings.
- Serve the waffles immediately while still warm and crisp. Top with fresh berries, a dollop of Greek yogurt, a drizzle of honey, or a pat of butter for extra richness. For an additional protein boost, add a side of scrambled eggs or turkey sausage.
- Leftover waffles can be cooled completely, then stored in an airtight container in the refrigerator for up to 3 days or frozen (see notes). To reheat, toast directly from frozen in a toaster or toaster oven for 2-3 minutes until crisp.
Notes
Storage: Refrigerate leftover waffles in an airtight container for up to 3 days. Freezing: Place cooled waffles in a single layer on a baking sheet and freeze for 1 hour, then transfer to a zip-top bag for up to 2 months. Reheating: Toast frozen waffles in a toaster on medium-high setting (or toaster oven at 350°F / 177°C for 5-7 minutes) until heated through and crisp. Avoid microwaving, which will make them rubbery.
Nutrition
- Calories: 319
- Sugar: 11g
- Sodium: 480mg
- Saturated Fat: 2g
- Carbohydrates: 37g
- Fiber: 4g
- Protein: 26g
- Cholesterol: 110mg
Keywords: high protein waffles, protein waffles, protein powder waffles, healthy waffles, high protein breakfast, waffle recipe, Greek yogurt waffles, vanilla protein powder waffles, easy protein breakfast, morning waffles